Mexican Plum Jam
The shelves were filled with a spectacular array of preserves and pickles
as richly colored as jewels.
She brushed a finger over the middle row,
where bottled fruits were stored,
giving a proprietorial glance to jars
labeled quince, morello cherry, damson, peach, greengage, grape, and finally plum.
 |
| Breakfast this morning. Yum. You will have to trust me. |
It's harvest time. The brittle remains of the corn and grain float up and ride the wind - and sometimes dust devils - all the way to my house. I'm far from the fields, but can tell by the heat and husks in the yard that I'd best hurry if I want to can anything before the market (or a friend's fig or plum tree) is bare.
RE sent me a message. The Mexican plums were ready if I still wanted to try and make jam. "Oh, and I potted up some of that grass you were interested in. It's a clumping grass and shouldn't spread," said he.
I headed south for a short drive so I could gather some of the tiny plums (they are about as big as a nickel - or maybe the size of the end of your thumb - my thumb anyway). My friends and I chatted and picked plums, debating the amount that would be required for a batch of jam. We pretty much picked until we got tired guessing we had about 10 cups. [We were wrong. When I got home and measured there were 16 cups. I'd have more than enough to try out a recipe or two.]
 |
| The plum tree - It blooms white in early spring. (photo by RE) |
 |
| The plums almost look like cherries. (photo by RE) |
Since this was a first for any of us I figured the processing would cut the volume of fruit in half. And then I expected the final result would be a few more cups of jam than processed plums (after removing the pits and peal, there is only so much pulp). That guess was pretty close. Eight cups of plums yielded 4 cups of pulp and about 4 1/2 cups of jam.
[It was a delight to visit with RE and LE. We met years ago over music at house concerts and art and they have become good friends. And it's pretty special to walk in someone's house and recognize a bit of your art on the wall. RE also graciously sent me a couple of photos of the plum tree. I hadn't realize I would be starting the blog up again, so I didn't take a single photo at their house.]
The basics of the plum jam recipe follows. I'm still thinking about whether I want to do this again. It's a good bit of work (I had sore hands and arms after all the mashing and straining). And we will see what we think about the product.
RECIPE:
8 cups of small Mexican plums - If they are not very ripe, put in a paper bag and leave on the counter for a couple of days. I laid these out on the lid of an cardboard box I lined with paper towels and left them for a couple of days. I noticed the plums darkening and getting softer.
 |
| The plums range from purple to a yellow-orange. As they ripen the color deepens. |
Wash and stem the plums in clear water. Wash them again.
Bring the plums to a boil in just enough water to not quite cover them.
Now, be patient. Check on the boiling fruit every now and then. Stir occasionally. Watch for the skin to split on the fruit. Now, let them boil or simmer gently for a few minutes as the fruit will split at different rates depending on ripeness.
 |
| If you look closely you can see the skin splitting. |
Remove the fruit from the stove. I then put the fruit in a large glass measuring bowl and put them in the refrigerator to cool as I did not want to burn my fingers.
SAVE THE WATER!
It is up to you how you mash and recover the plum pulp and juice. [I don't have all my canning tools here so I used a potato masher and colander. It was not the most efficient setup. I mashed and strained for 2 hours or thereabouts.]
MEASURE THE PULP AND WATER! For 8 cups of plums I got 4 cups of fruit pulp/water.
Add the juice of 1 lemon.
Add sugar. I used 2 1/2 cups of sugar. It's a matter of taste. I wanted tart, but not too tart. REMEMBER - You can always add more sugar, but you cannot take it out once added.
Now cook the devil out of the fruit/sugar/lemon mixture. Some people may want to use a pectin product and add sugar accordingly. Taste test your jam. There are also ways you can test to see how thick it is, but I usually "wing it." This batch turned out like a thick sauce or plum butter.
Ladle jam into sterilized canning jars, add lids, and place in boiling water bath for 15 minutes.
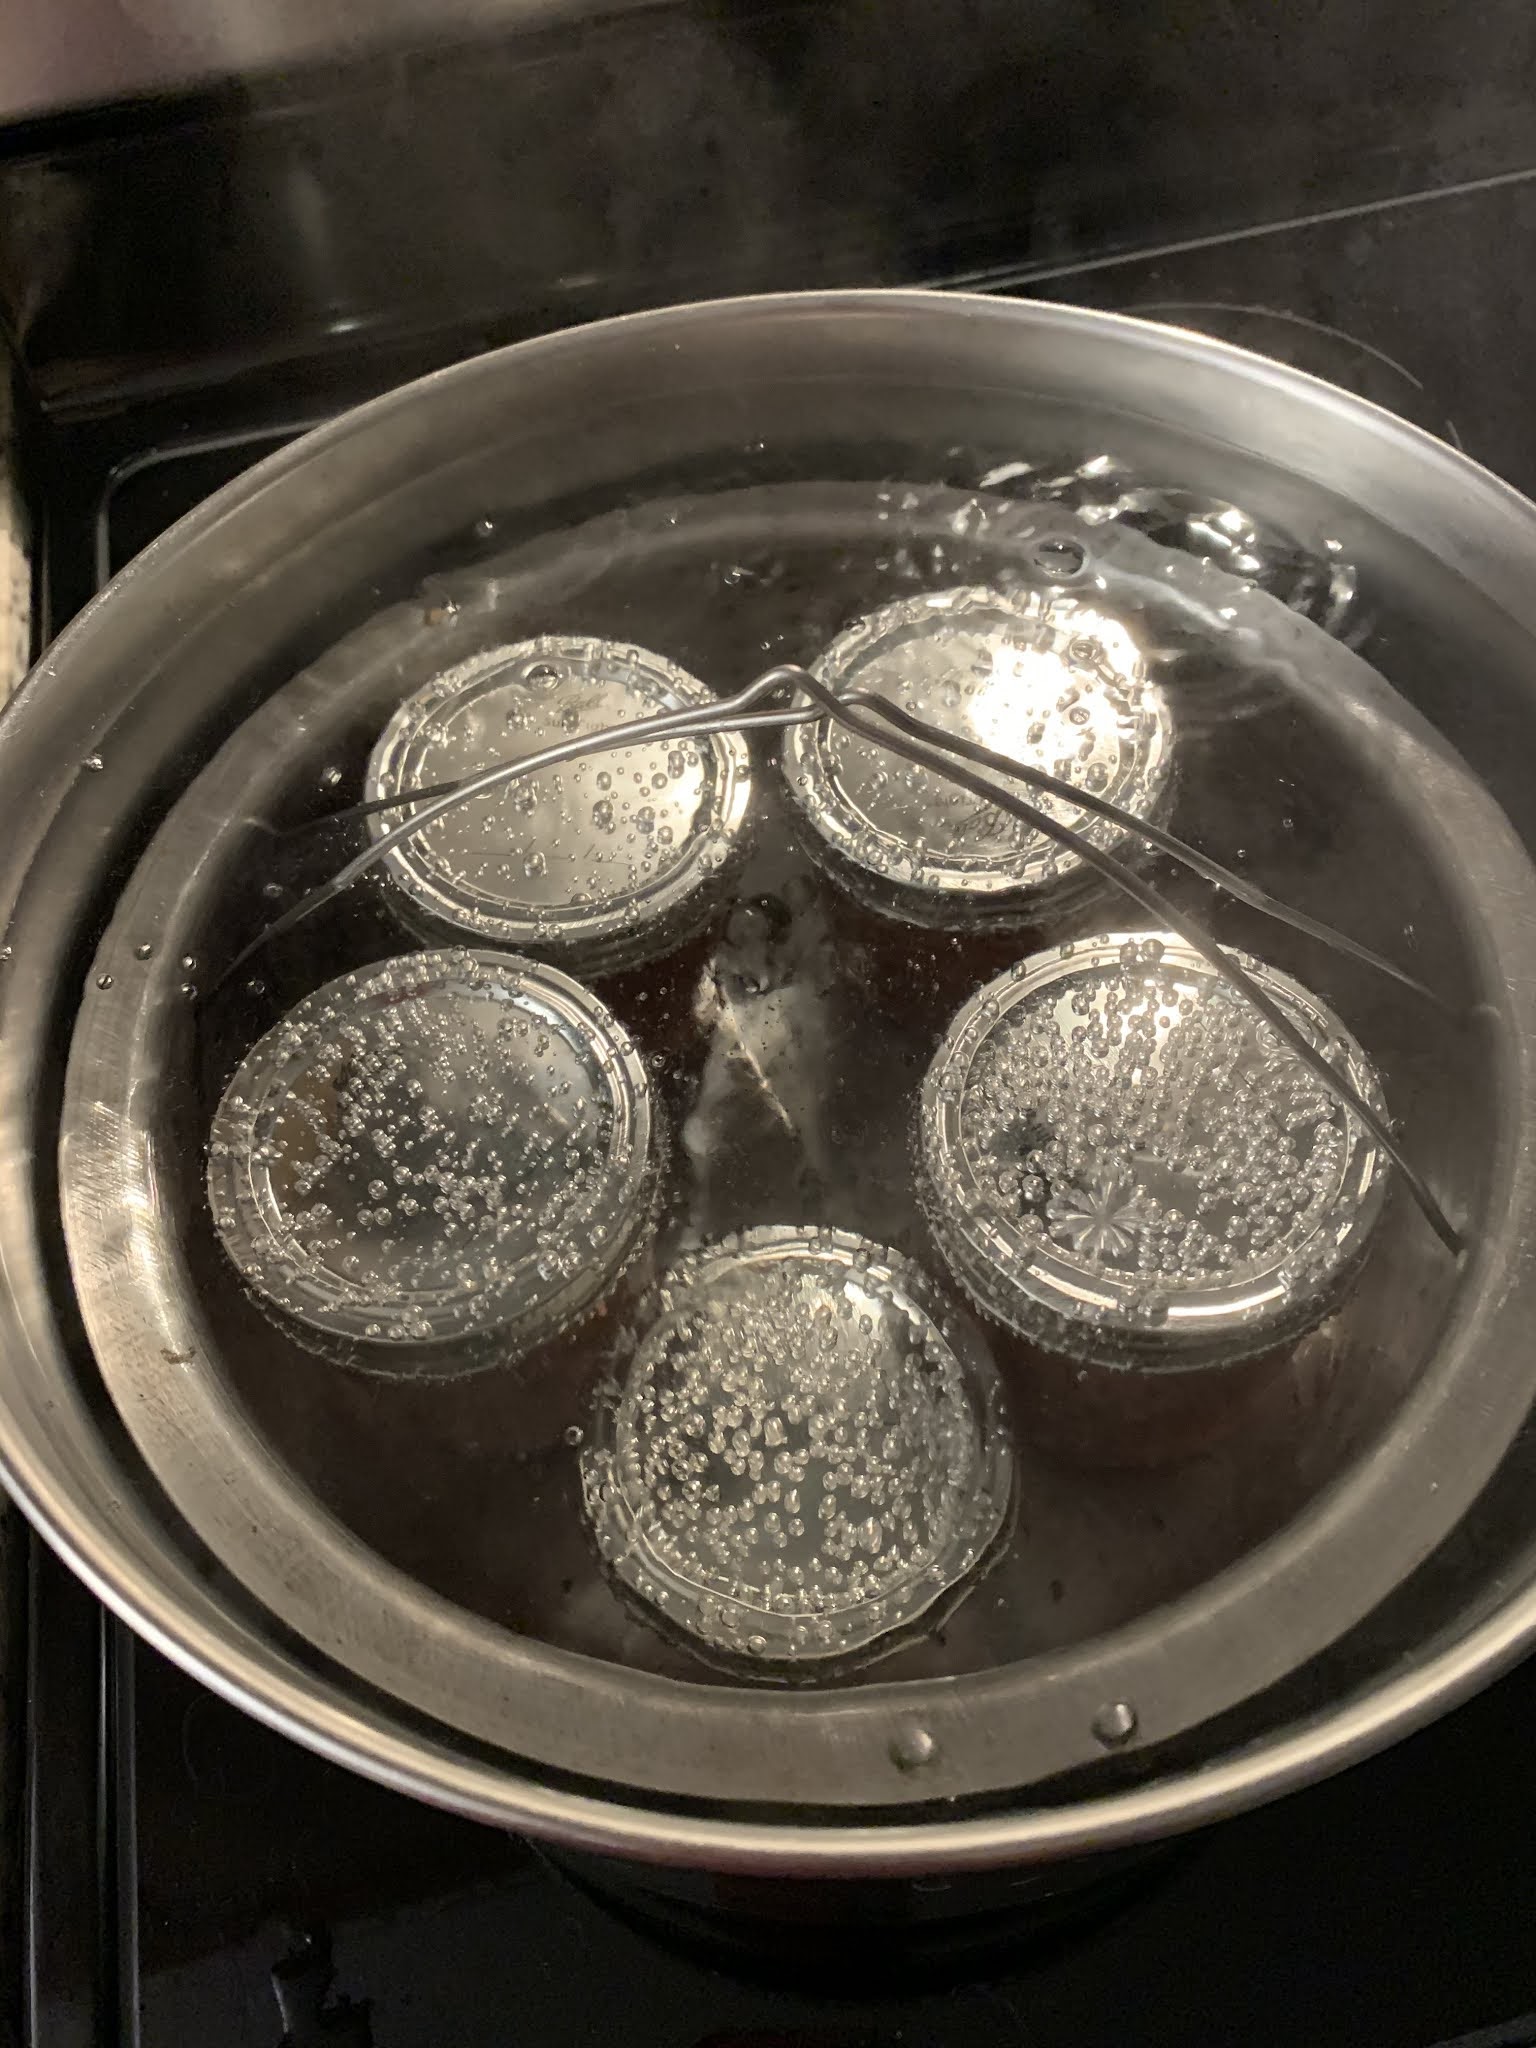 |
| It's a small batch set-up. The boiling water bath. |
And there you go!
 |
| Four half pints and a smidge. |
 |
| The small bit of jam that didn't fit in the jars was poured in a bowl and refrigerated. |
 |
| It's a lovely color. I'm debating whether this is something I'll try again. [Still, it was better than making Agarita jelly - just saying.] |
NOTE:
If you read enough of these jam/jelly/preserve recipes you will see they are all about the same. You cook the fruit with sugar. Sometimes you add lemon. Sometimes you use pectin. Everything must be sterilized (Mom was a bacteriologist and so, raised with stories about bad things that can happen with bad food, I am a believer).
Ball puts out a good booklet. Ball and Kerr jars are both fine. I get whichever one is on the shelf or cheaper when I'm shopping. The internet is a decent source of guidance, but read a couple of recipes and compare. The most interesting recipes come from cooks like my grandmother (Cook the figs until they start to stick...hahaha!).
I find this mostly therapeutic (but NOT Agarita) - and canning gives you pretty gifts for friends and family. Enjoy.


Comments
Post a Comment